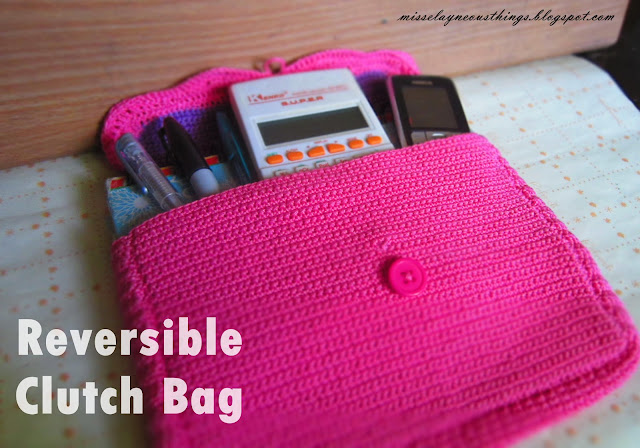
Reversible Cute Clutch Bag
February was over and I am still on my way on finishing another crochet project. This time I am working out a small clutch bag and hopefully I could finish this before the end of March. I think this would be a cute gift for a "girl friend" or maybe to your beloved mom, grandma, aunt or your favorite teacher at school.
It was easy to make and beginners would have fun doing this. I haven't finish this yet because I ran out of thread and I was not able to buy a new one at this point.
As for now, I am very excited to share the pattern with you. I started out on the pattern by doubling the number of rows and stitches needed. This is because I was using a thinner thread and I have to double it up so that I would achieve my desired size for the clutch bag. If you're going to use yarn, two chains would be equivalent to 1 chain, same with the single crochets. Two chains using crochet thread is equal to one chain using yarn :)
FEW DAYS BEFORE I FINISHED THE BAG
Things we need for this cute bag: a crochet thread (I'm using a monaco thread for this) or yarn of any color you want. You may choose to have two or more colors for your bag. A crochet hook that fits the size of your thread or yarn. And a pair of scissors and a needle would be of great help.
THE FINAL PATTERN
Let's Get Started:
For the front: Row 1: starting at bottom, chain 62, single crochet in 2nd chain from hook, single crochet in each chain across, turn (you should have 60 chains).
Row 2-50: Chain 1, single crochet in each stitch across, turn.
At end of last row, fasten off.
For the Back:
Rows 1-50: Repeat same rows of front. At the end of last row, DO NOT fasten off.
Rows 56-68: For flap, chain 1, single crochet in each stitch across, turn.
Rows 69-72: Chain 1, single crochet the first 2 stitches together, single crochet in each stitch across to the last 2 stitches, single crochet last 2 stitches together, turn, ending with 44 stitches in last row. At the end of last row, fasten it off.
For Bottom and Sides:
Row 1: Chain 12, single crochet on the 2nd stitch from the hook, single crochet in each stitches across, turn (11 single crochets).
Row 2-160: Chain 1, single crochet in each stitch across, turn. At the end of last row, fasten off.
But instead of using single crochets I decided to use half double crochets for both side and single crochets for the bottom.
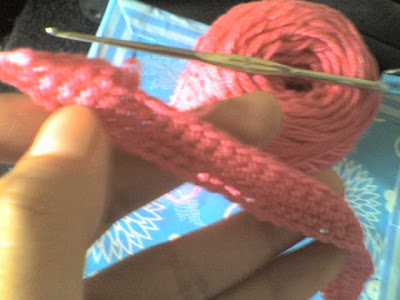
The black bone points to the side area where I used half double crochets...
The blue star wand points to the bottom area where I used single crochets...
Finishing: To join the Front, hold ends of rows on Bottom and Sides against sides and bottom of Front; matching the ends of rows and stitches and working through both thicknesses, join with single crochet in end of row 50 on Front and in end of row 1 on Bottom and Sides, single crochet in end of each row and in each stitch around to opposite end of row 50 on Front and row 160 on Bottom and Sides, fasten off.
To join Back, work the same as Front joining, fasten off.
For Flap Trim:
I did some revisions with the pattern...instead of using the pattern I made my own.
Working in the ends of rows and stitches across row 69-72 on Back, single crochet in the next 12 rows, make 2 half double crochet, 4 double crochet, 4 triple crochet, 4 double crochet and 2 half double crochet. Repeat this step 4 times.
For Button Loop: work single crochets on the last row until the middle part, chain 10 (this depends on the size of button you're gonna use), then single crochet until the last stitch of the last row.
After that: Trim off excess thread...
As a twist for this pattern I had sew a button outside for this look!
And I sew another button on the inside to make it reversible and achieve this look...
After making sure that everything is fixed you could now used this clutch bag to store you're everyday necessities... This makes a perfect place for your cute notebooks, phones, tablets and net books.
I linked this to:

Happy Crafting!


0 check comments here