
Do-It-Yourself: Recycled Notepad
Welcome back to school! The new school year has begun and I'm sure students out there had fun buying new books and new school supplies. That was the thing to look forward to when you are still studying, aside from new classmates, teachers and friends to make. But how about those old notebooks and scratch papers that were left untouched. Pieces of bond papers and colored papers you bought last school year that you did not use. They should not be left in the cabinet with dust.
Nowadays, students should be practical and economical to help their parents save money. Tuition fees are increasing and it's hard to earn money at the present. So, don't go wasting anything that you spent your money with. Instead of buying new notebooks, why don't you put all the spare pages and come up with a new one.
That was my idea on mind when I did this DIY recycled notepad. I was looking for ways to reuse my old research papers instead to sending them to the junk shop (which is also a good idea). I had a lot of research when I was in college and they all piled up in a corner of our room and got dusty and turned yellow. I was bothered about the money I spent just to print those papers that's why I had difficulty sending it to junk shops. So, what I did, I looked for ideas to recycle them.
This DIY recycled notepad is easy to make (like all the crafts I made here on my blog). Just follow the steps and you'll have a pretty new notepad to use in school. Notepads are very helpful especially for students. It saves time and you'll surely won't miss a thing your teachers says when you have your notepad and pen on hand.


-Old bond papers/colored papers/old notebook pages
-Old/used illustration board or carton
-Pencil and eraser
-Pair of scissors
-Glue
-Cutter
-Ruler
-Stickers/beads/buttons/cozy wires for decoration
-Printed picture/name that you want for the front cover
-Binder clips
What to do
For the pad itself...
1. Get the used bond papers and use the ruler to measure the size of the notepad that you want. Measure a square or a rectangle, or any shape that you want for your notepad.

2. To save time, finish all the measurements and tracing first to all the bond papers that you're going to use. After that, cut them out.

3. Do the same with the colored papers :)

4. Now, you have a stack of small squares to use as a pad. Set that aside and start making the pad cover.

For the front cover...
1. Measure the illustration board. Use the measurement you had for the pad but make sure to add a few centimeters so that, it would be a little larger, enough to cover the whole pad. With mine, I added 1cm on each side (yours should be larger than mine).
2. Make a square for the back side first. And then, add a rectangle next to it. This is the area where we are going to attach the pad. And the measurement for this rectangle should be according to the thickness of the pad that you had cut out. With mine, I doubled the thickness of my pad so that, I could insert my pen inside.
3. Next, make another square next to the rectangle. This time for the front side of the cover. It should be of the same size with the back side.

4. After that, start tracing the outlines with a cutter. Trace the outer lines first. Retrace it a few times to make the edges smooth and to easily detach it.

5. Then, trace the 2 lines of the rectangle. Your hand should be light enough and trace it only once. We have to trace it so that we can fold it in easily.

6. Fold the board carefully going inside. The traced marks should be on top. Set it aside.


Binding the pad together...
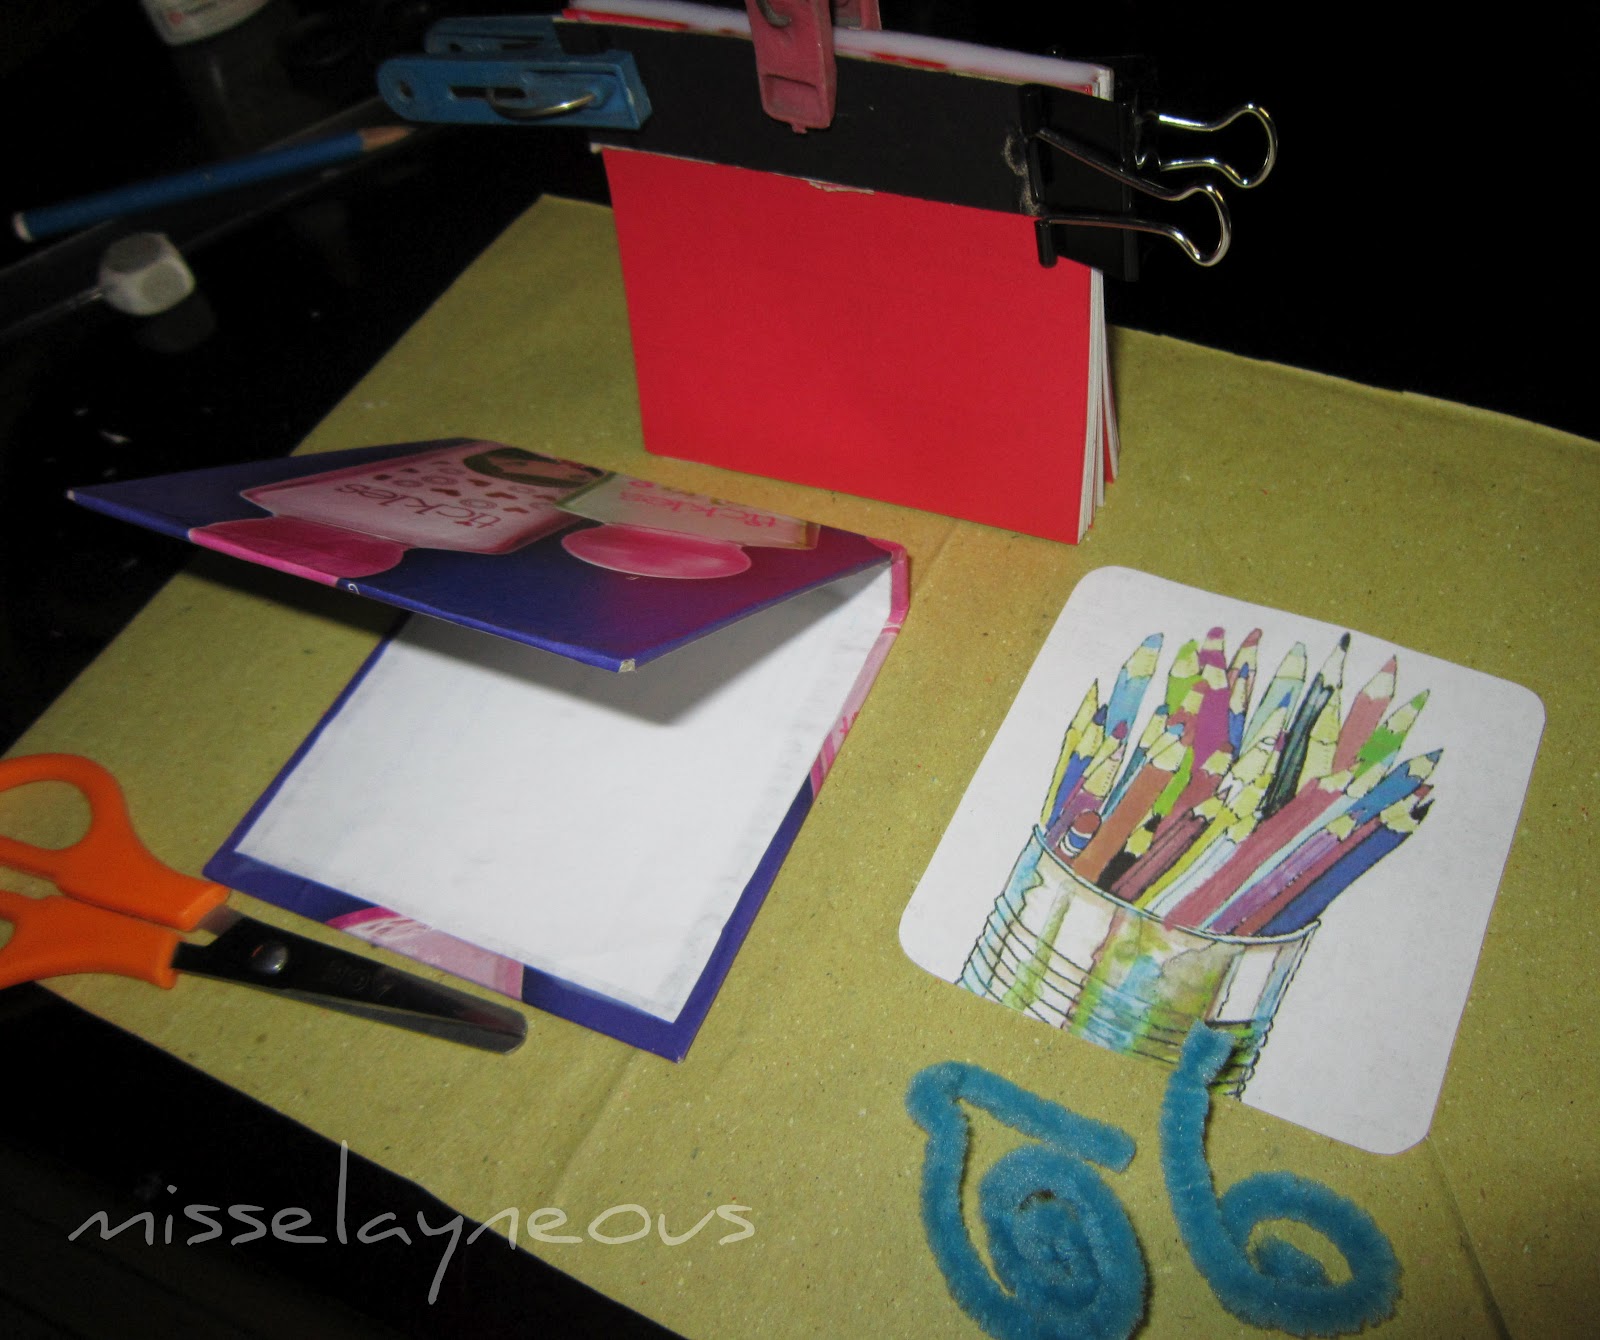
1. Get the stack of square you had. With the use of small pieces of illustration board and binder clips, bind the squares together.

2. Squeeze the glue on the top of the stack evenly. And put a clip on the center. Remember that it should not touch the glued part. Wait for it to dry.


3. Add another layer of evenly spread glue. Let it dry again.
While letting it dry, let's go back with the cover...
1. You can wrap it now with a colored paper or a page from a glossy magazine. Ten, finalize the inside with a piece of bond paper.

2. Decorate the front cover. Put some stickers, beads or the printed picture that you like. I used a cozy wire with mine to serve as lock for my recycled notepad. Let all the designs dry.


The pad again...
1. When it is all dry, carefully remove the binder clips and the pieces of illustration board. If the board is difficult to remove, use the cutter to detach it.

2. Then, paste a piece of paper to cover the glued part on the top side. And attach it on the cover you made earlier. Put some glue on the cover first and also on the pad. Stick it together and let it dry for a few minutes. Use the clips again to secure them in place.


3. Attach the cozy wire to lock it in place. Now, you have your Do-It-Yourself: recycled notepad! You can write on it, post it, and tear it if you want. The better side is you did not spent money for this. Plus! you can customize this and come up with any size and color that you want.


Happy School Year Everyone! (n.n)


2 check comments here
This is so clever! I love it!
ReplyDeleteKatie
www.funhomethings.com
Thanks a lot Katie!
Delete