
DIY Easy Tablet Sleeve
Hey guys! I know it's been awhile...but here I am now. Ready to share some of my craft adventures lately.
However, I still had a busy schedule and I can't promise to post much this coming month of October. But I hope you could come and check out what's new.
So much for that...

Today, let me share with you this very simple and very easy DIY Tablet Sleeve that I made for my sister. She just bought a new tab and forgot to buy the tab cover (the hard one). Well, honestly she really doesn't want to buy them 'cause they're really expensive. Here it costs around 300 - 1000php. That's why she's asking me to make a sleeve instead. Or if I have the motivation try making an improvised version of the hard cover. Maybe I'll do the latter sometime.
For now, let's start with the DIY Tablet Sleeve first.

There are a lot of different ways to make your own tablet sleeve. However, most of them used materials that you can't easily find at home. Like using leather or felt and other stuff that we don't have at hand. So, I looked for more cheaper resources. Then, luckily my dad was sewing some of his shirt projects and I got to ask for the excess cloths. And that's what I used on my tablet sleeve.
Don't worry if you can't find any cloth, why not use your old cotton shirts. It would make a perfect tablet sleeve.
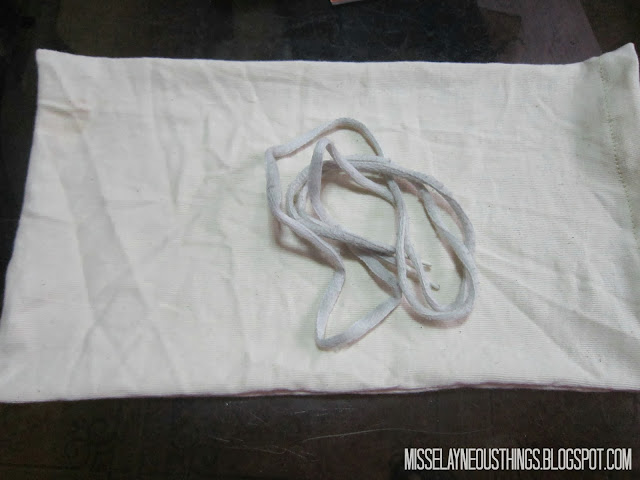
Excess cloth enough to cover your tab (free)
pair of scissors (free)
pencil and ruler (free)
sewing machine (free) or needle and thread (20php)
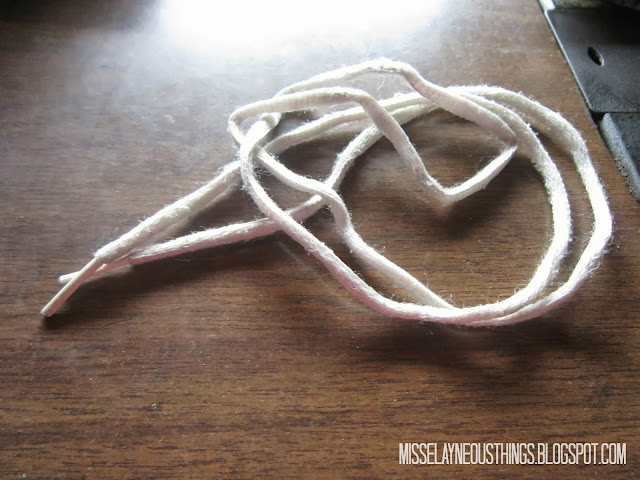
an old shoe lace (free)
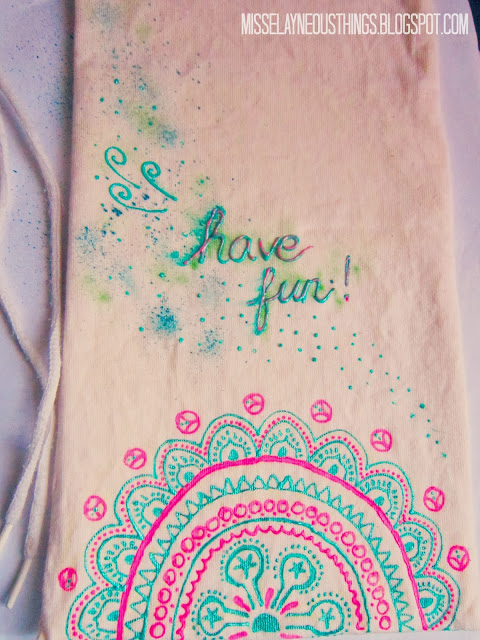
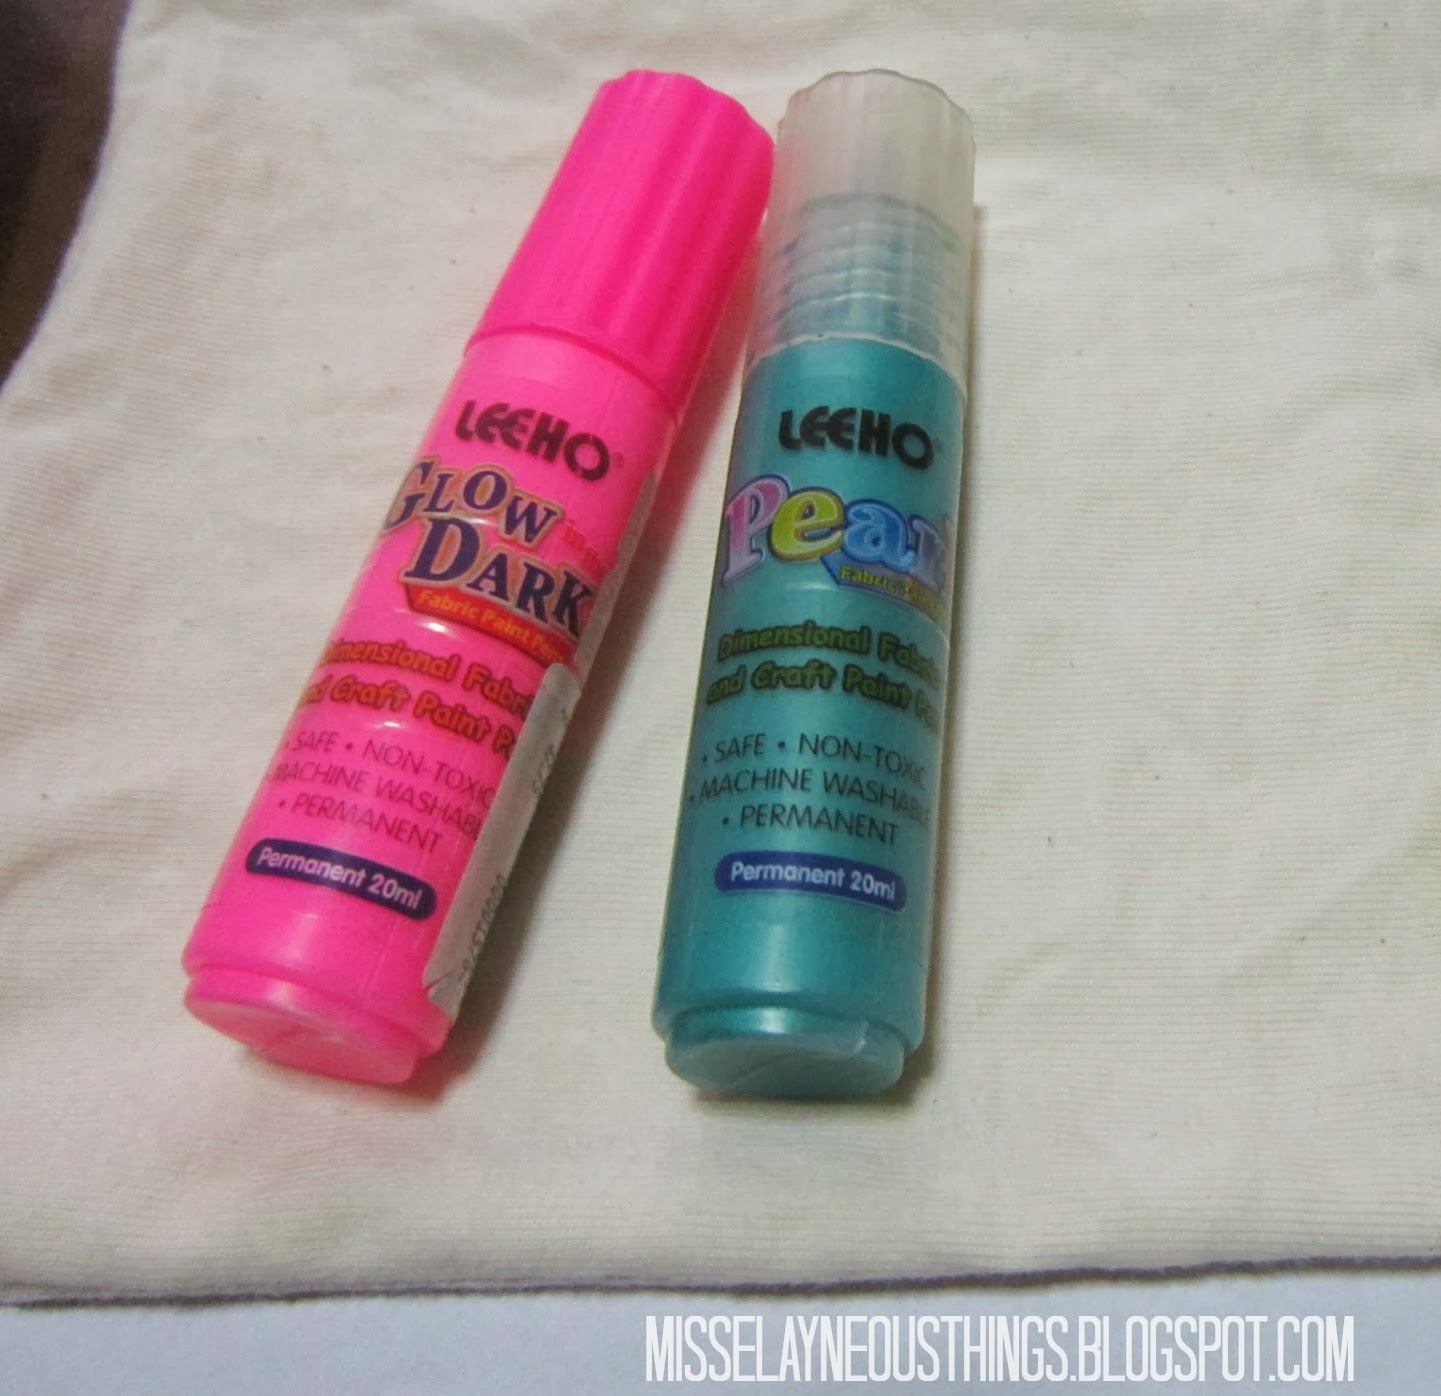
some fabric paint (optional) (45-50php)

First, fold the cloth in half. Then, measure your tab on the cloth. The folded part would be the bottom area of our sleeve. Make sure to add about half inch to inch allowance on each side and 3 inches allowance on the top.Cut it out.


Since it's folded you can now open the cloth and check if it covers the whole tab.
Then, turn the cloth to the other side (the side which is usually rough) and fold it again.
Sew the sides using the sewing machine leaving the 3 inches allowance on top. If you don't have the sewing machine you can sew it by hand. Common it would not take you so long to finish both sides.

Now, fold the 3 inches allowance in half, giving you about 1.5 inches thick area for the string. Sew, the bottom part.
After that, you can now insert the shoe lace or a ribbon to serve as our string. You can attach a safety pin on the end and insert it on the alotted area.
And that's it. If you're using a plain cloth like what I've use you can use fabric paints to add color. You can also attach crochet appliques or cut out figures from printed cloths to make it more unique.


However, I still had a busy schedule and I can't promise to post much this coming month of October. But I hope you could come and check out what's new.
So much for that...

Today, let me share with you this very simple and very easy DIY Tablet Sleeve that I made for my sister. She just bought a new tab and forgot to buy the tab cover (the hard one). Well, honestly she really doesn't want to buy them 'cause they're really expensive. Here it costs around 300 - 1000php. That's why she's asking me to make a sleeve instead. Or if I have the motivation try making an improvised version of the hard cover. Maybe I'll do the latter sometime.
For now, let's start with the DIY Tablet Sleeve first.

There are a lot of different ways to make your own tablet sleeve. However, most of them used materials that you can't easily find at home. Like using leather or felt and other stuff that we don't have at hand. So, I looked for more cheaper resources. Then, luckily my dad was sewing some of his shirt projects and I got to ask for the excess cloths. And that's what I used on my tablet sleeve.
Don't worry if you can't find any cloth, why not use your old cotton shirts. It would make a perfect tablet sleeve.
Materials Needed:
Excess cloth enough to cover your tab (free)
pair of scissors (free)
pencil and ruler (free)
sewing machine (free) or needle and thread (20php)
an old shoe lace (free)
some fabric paint (optional) (45-50php)

What to do:
First, fold the cloth in half. Then, measure your tab on the cloth. The folded part would be the bottom area of our sleeve. Make sure to add about half inch to inch allowance on each side and 3 inches allowance on the top.Cut it out.


Since it's folded you can now open the cloth and check if it covers the whole tab.
Then, turn the cloth to the other side (the side which is usually rough) and fold it again.
Sew the sides using the sewing machine leaving the 3 inches allowance on top. If you don't have the sewing machine you can sew it by hand. Common it would not take you so long to finish both sides.


Now, fold the 3 inches allowance in half, giving you about 1.5 inches thick area for the string. Sew, the bottom part.
After that, you can now insert the shoe lace or a ribbon to serve as our string. You can attach a safety pin on the end and insert it on the alotted area.
And that's it. If you're using a plain cloth like what I've use you can use fabric paints to add color. You can also attach crochet appliques or cut out figures from printed cloths to make it more unique.


And yeah! As simple as that!
Have a nice day!


2 check comments here
thanks for sharing such simple yet beautiful idea!!
ReplyDeleteclipping path
So beautifully crafted!!
ReplyDeleteyou should be proud of your self.
clipping path